"Separate the napkins so you're only using the top printed layer. Tear (don't cut) the napkins into smaller pieces-torn edges blend much more naturally. Brush a thin layer of varnish onto the egg. Gently place a napkin piece on top, then brush another thin layer of varnish over it to smooth it out."
"Less varnish is better-too much can make the paper wrinkle. Use a light touch with your brush so the napkin doesn't tear. If wrinkles happen, don't worry-they actually add to the charm. Let them dry on parchment paper."
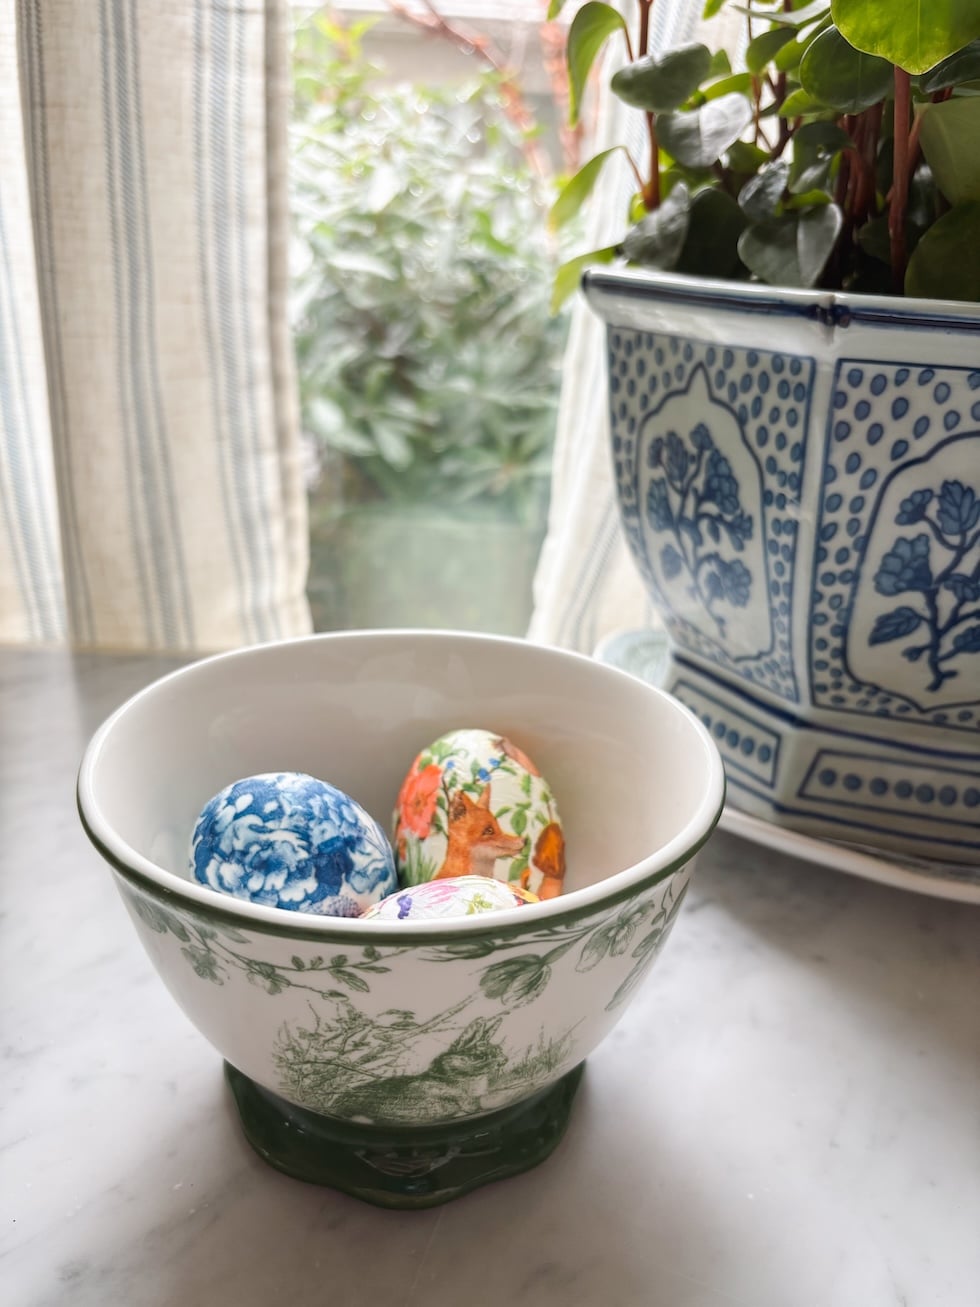
"Display in a bowl, scatter along a table or centerpiece, use as place settings, or tuck into baskets or spring vignettes. This would also be such a fun craft to set out for guests...everything can be prepped ahead and everyone can make their own!"
Decorating wooden eggs with cocktail napkins and varnish creates a charming Easter craft. Supplies include wooden eggs, paintbrushes, and various printed napkins. The process involves tearing napkins, applying varnish, and layering pieces on the eggs. Helpful tips include using less varnish, a light brush touch, and allowing for wrinkles. Finished eggs can be displayed in bowls, used as place settings, or incorporated into spring decorations. This craft is also ideal for group activities, allowing guests to create their own unique designs.
Read at The Inspired Room
Unable to calculate read time
Collection
[
|
...
]