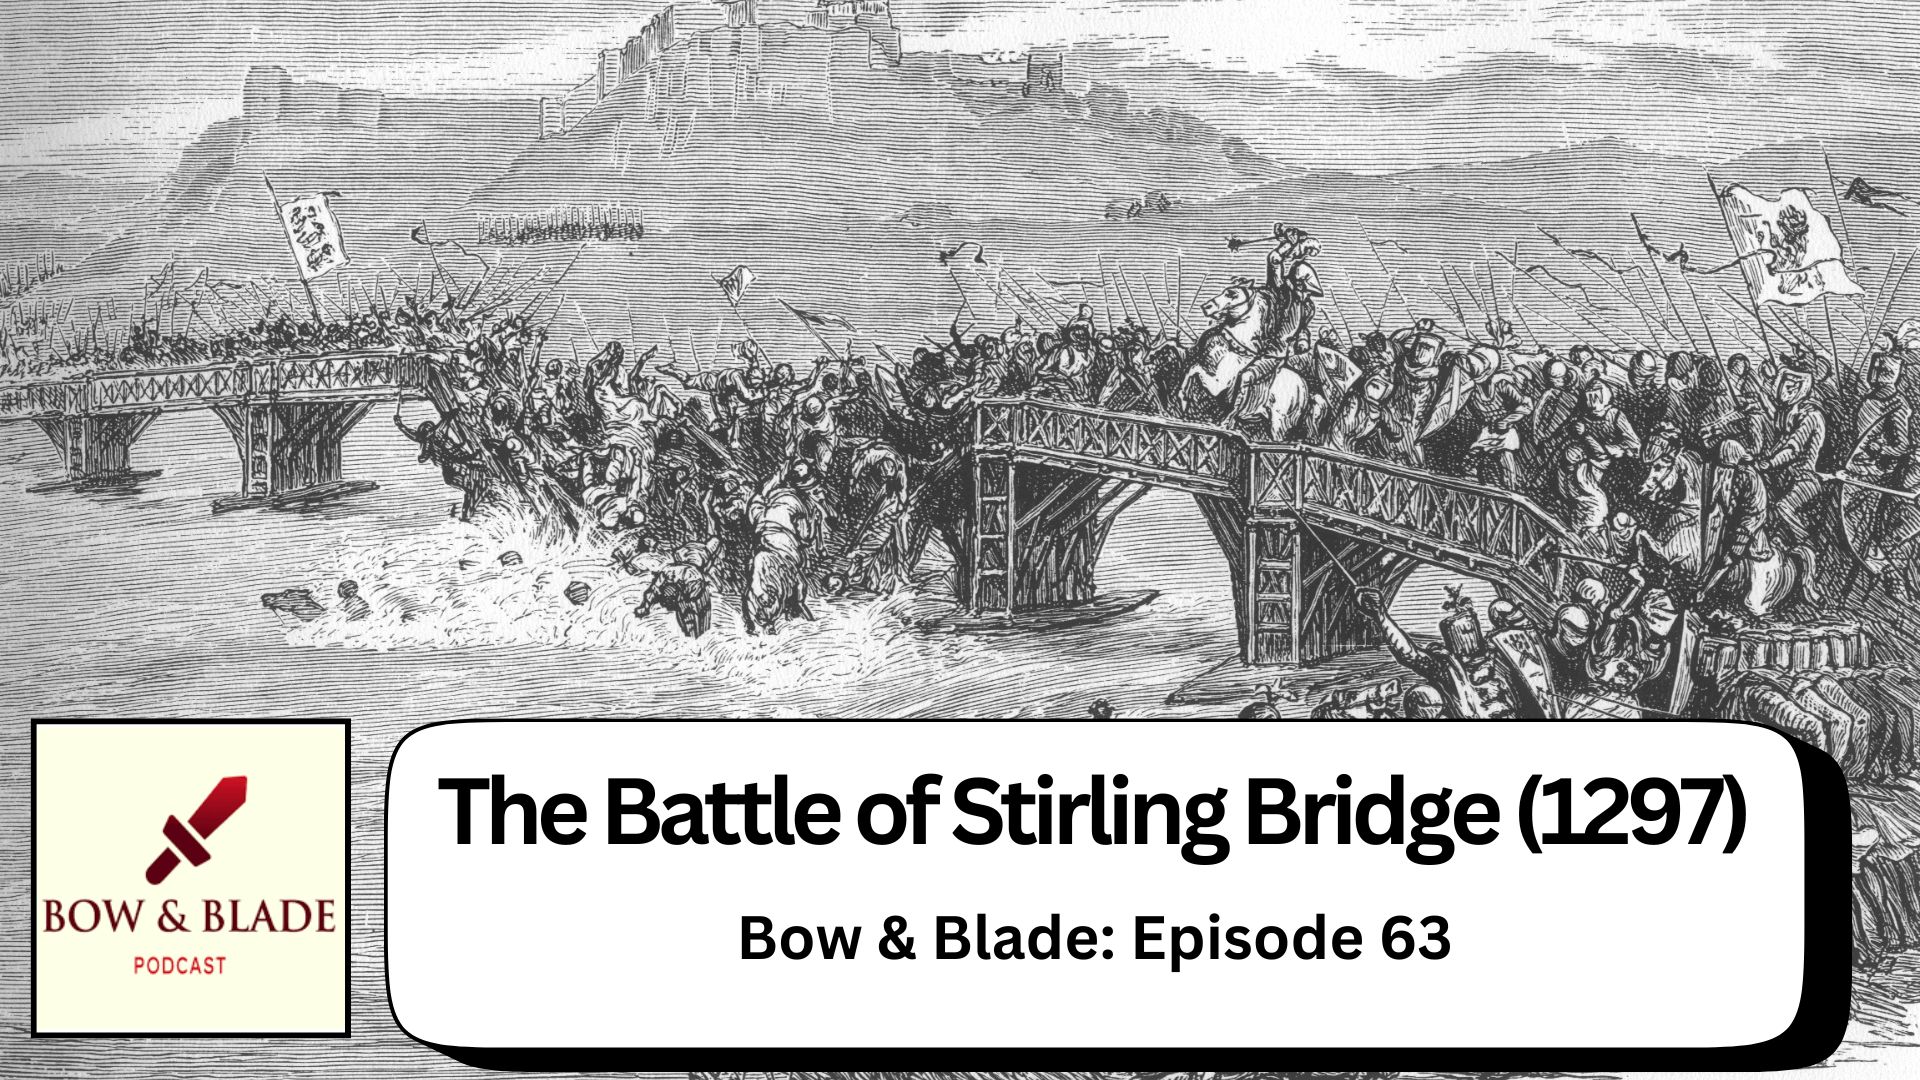
"In this episode of Bow & Blade, Michael and Kelly examine the Battle of Stirling Bridge in Scotland as a clear example of poor generalship. Focusing on the English command's mistakes, they explore how underestimating William Wallace and the Scottish forces led to disastrous decisions over terrain and timing. The hosts of Bow & Blade: Kelly DeVries is a Professor at Loyola University in Maryland and Honorary Historical Consultant at the Royal Armouries. You can learn more about Kelly on his university webpage."
"Focusing on the English command's mistakes, they explore how underestimating William Wallace and the Scottish forces led to disastrous decisions over terrain and timing. The hosts of Bow & Blade: Kelly DeVries is a Professor at Loyola University in Maryland and Honorary Historical Consultant at the Royal Armouries. You can learn more about Kelly on his university webpage. Michael Livingston teaches at The Citadel and is the author of numerous books on medieval history as well as fiction novels."
The Battle of Stirling Bridge exemplifies poor generalship. English commanders underestimated William Wallace and the Scottish forces. Command decisions misjudged when and where to cross the bridge, producing piecemeal crossings across narrow terrain. The constrained bridge and delayed timing created vulnerability for the English army. Scottish forces exploited terrain, timing, and discipline to rout a larger English contingent. Arrogance, failure to assess enemy capability, and tactical inflexibility turned numerical advantage into catastrophic defeat, illustrating the consequences of flawed leadership in medieval warfare.
Read at Medievalists.net
Unable to calculate read time
Collection
[
|
...
]